Energy Pyramids View
Home
Rooms
Gallery
Facilities
Reviews
FAQ
Contact & Location
Book Now
Adore Hotels
Hotels
Egypt
Cairo
Energy Pyramids View
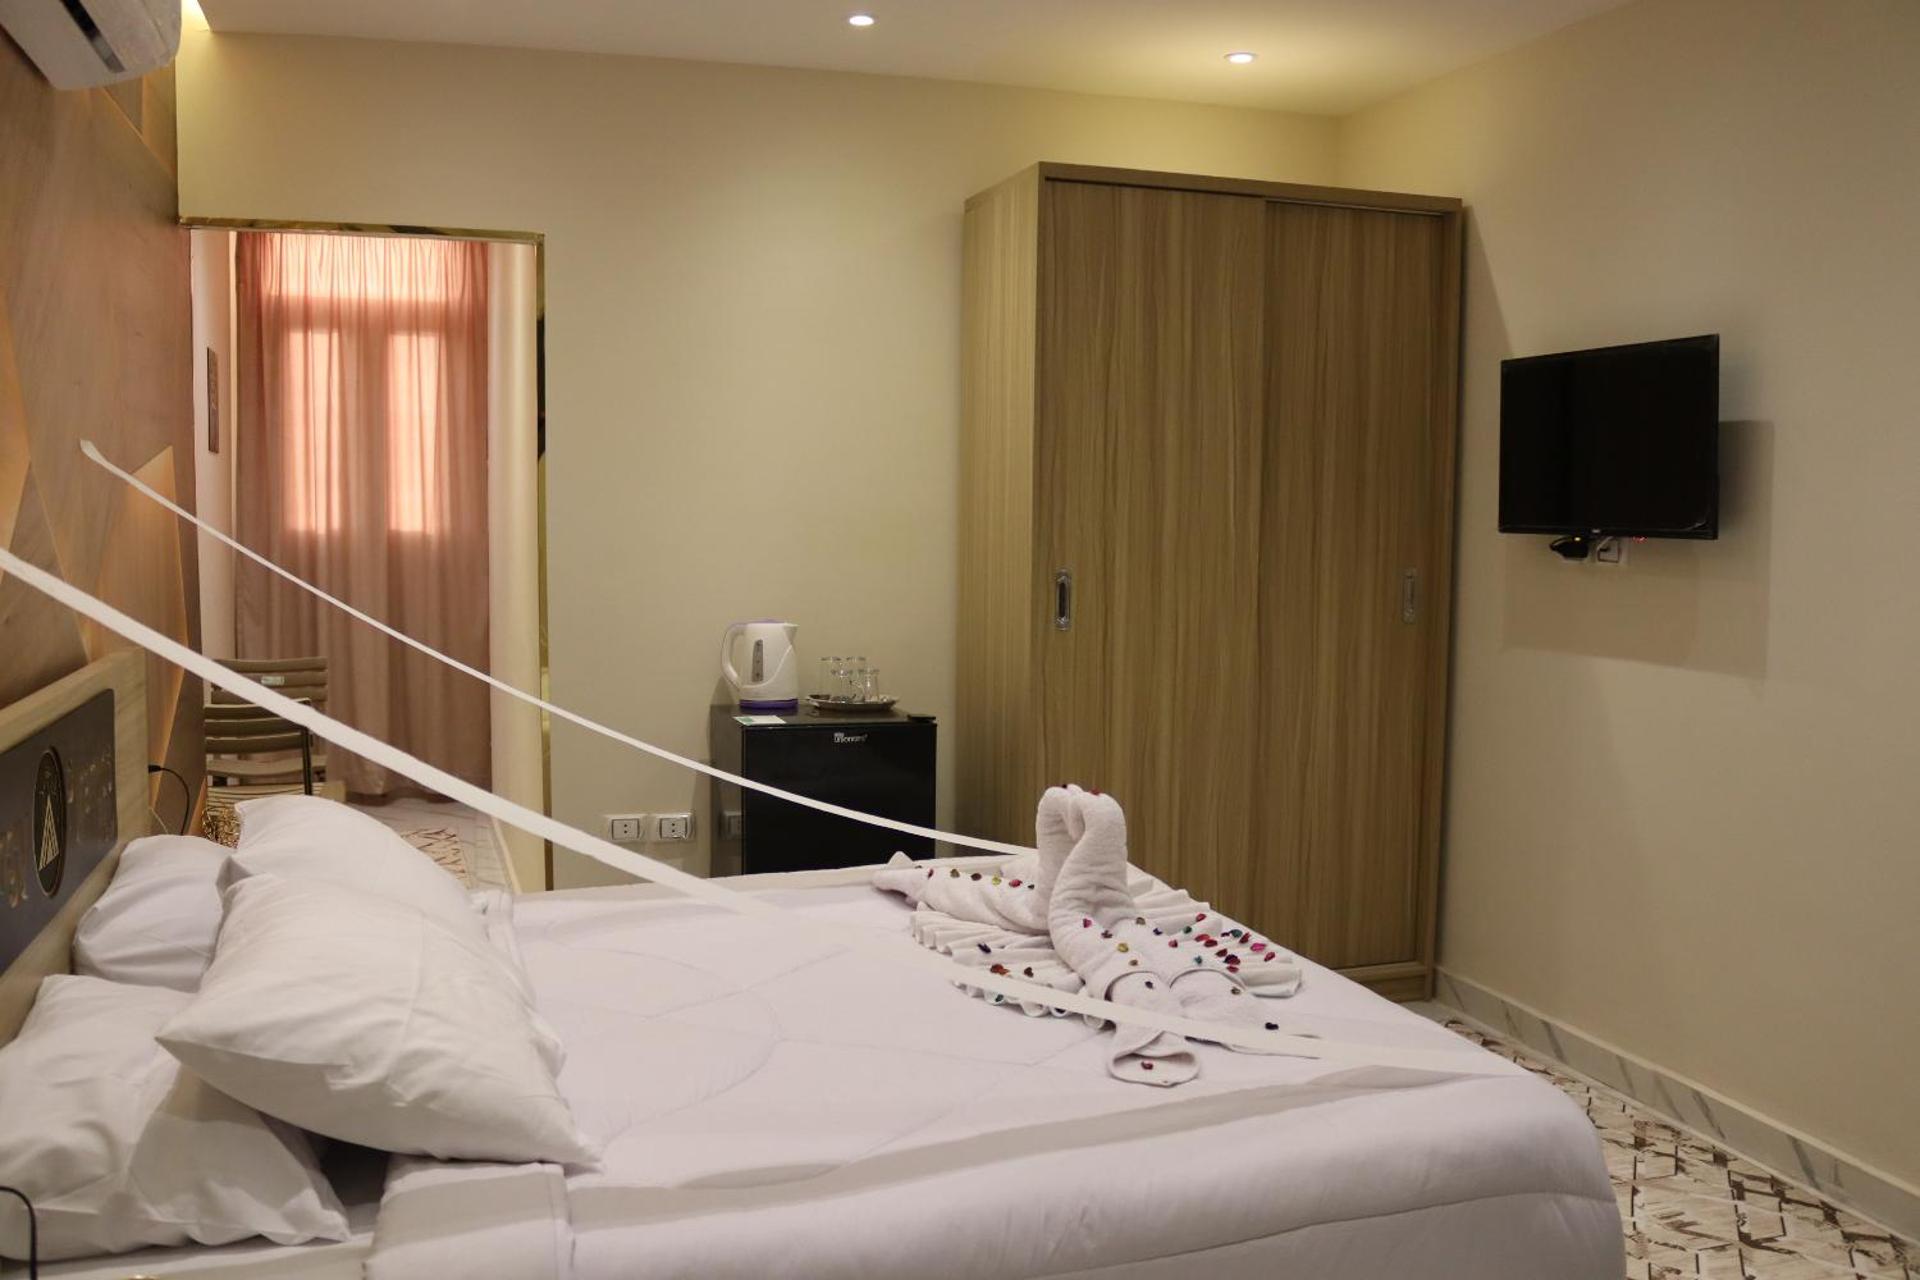
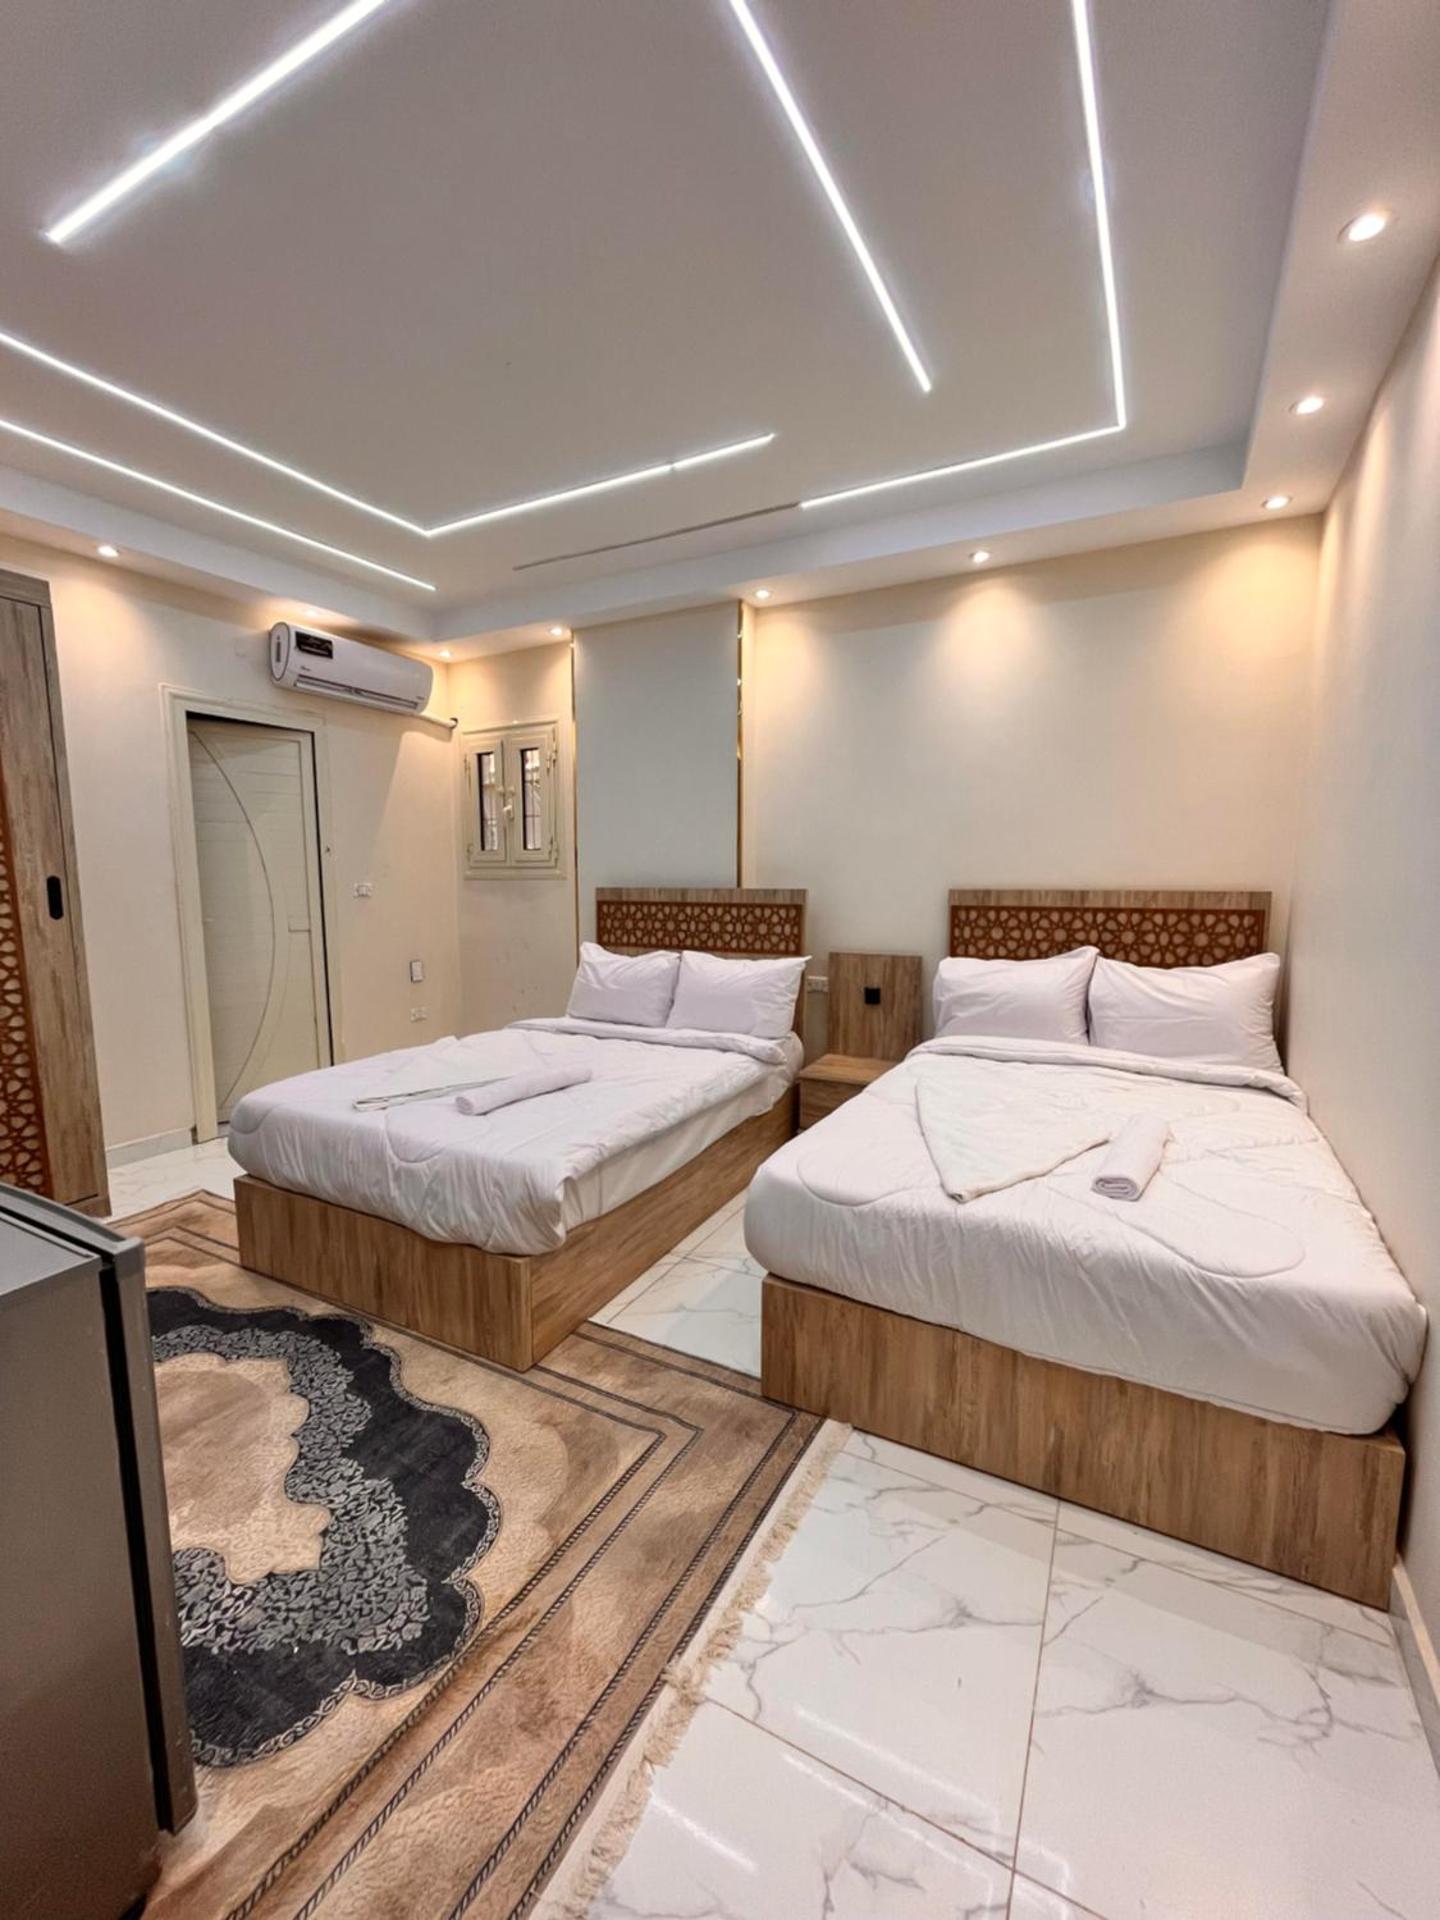
Gallery
Energy Pyramids View
GALLERY